How To Paint a Butterfly: An Easy Tutorial For Beginners
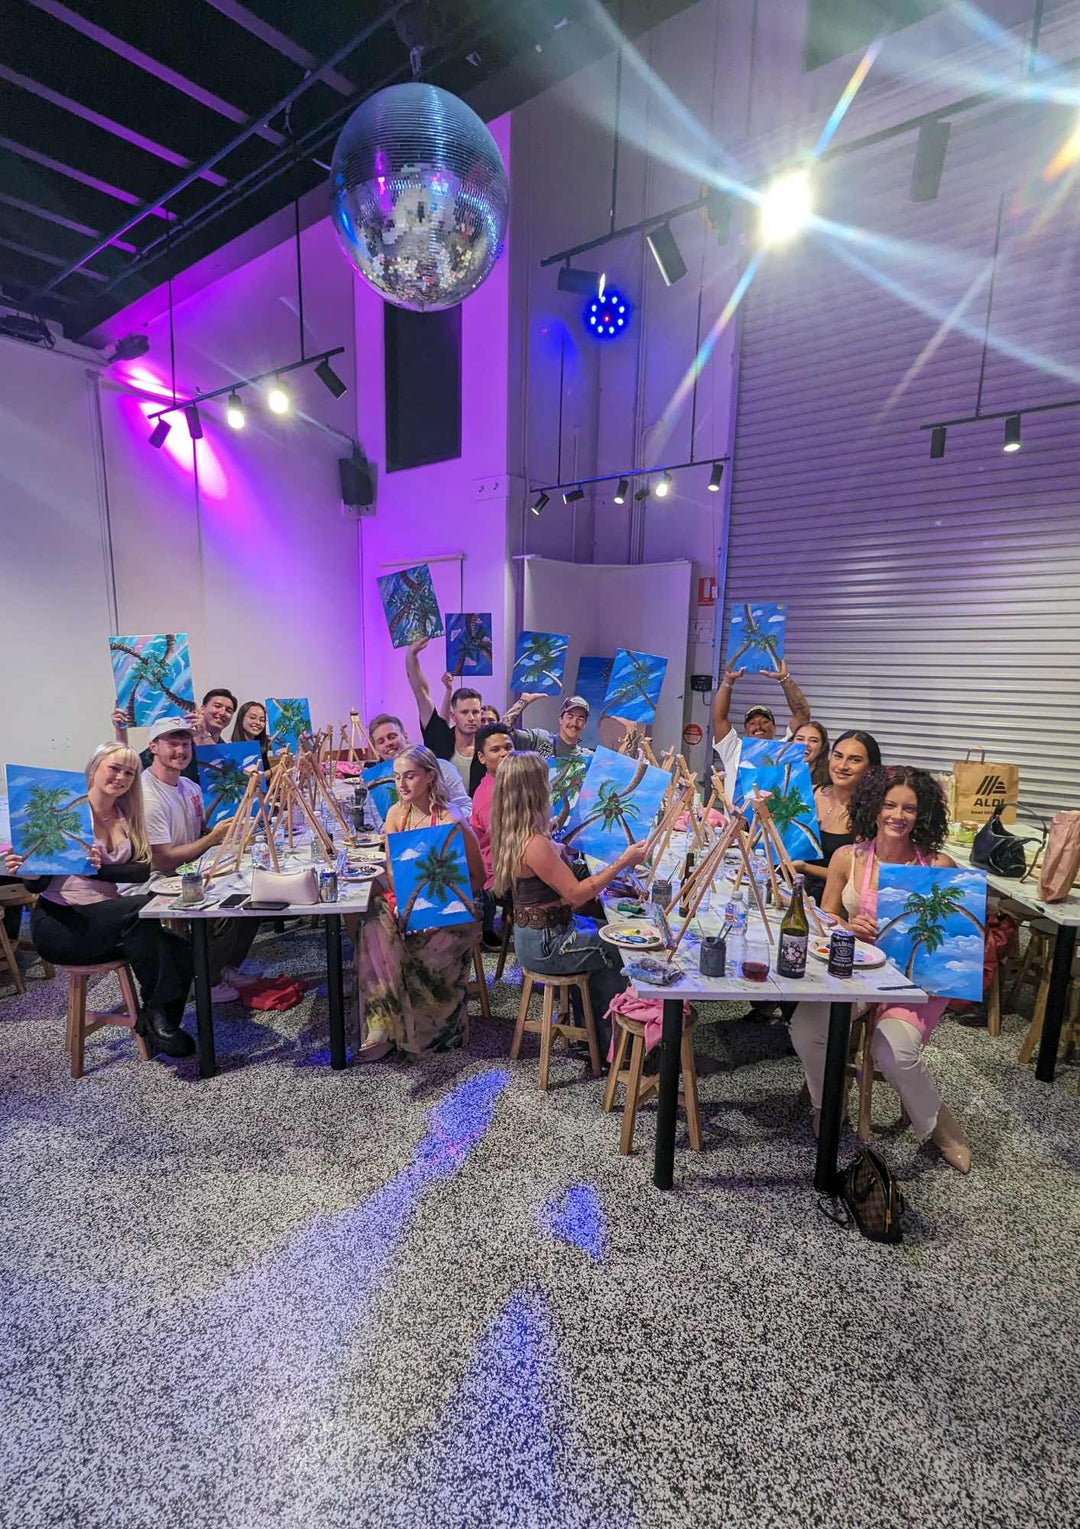
Looking for a fun activity for you and your little ones this weekend? Pick up those paintbrushes and dress the kids in old clothes, cause next on our How-To series is an easy-to-follow painting tutorial!
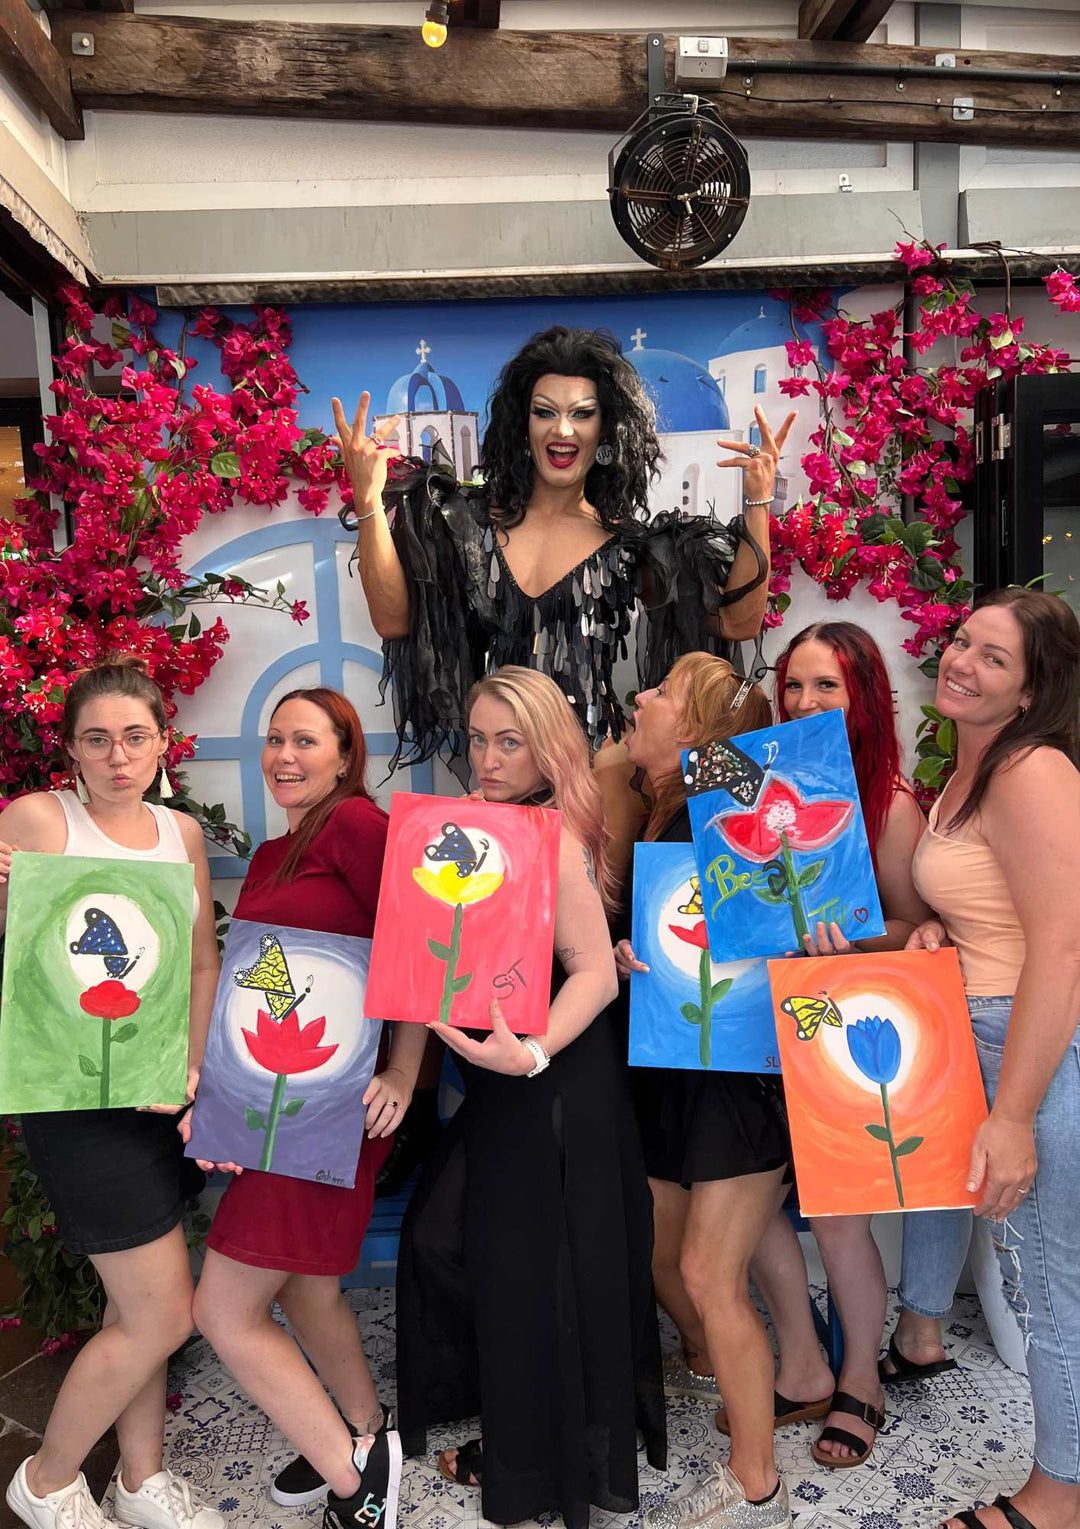
Butterflies have always been one of the most popular insects ever, as they are very pretty to look at! Their often colourful wings catch our eyes and their ever graceful flying really turns heads! So if you’re interested in painting a butterfly (or butterflies) with your little ones (or just yourself!) keep on reading ahead.
Step 1: Prepare your materials
Here are the things you will need for your masterpiece!
- Plastic disposable tablecloth
- Paints in any colour you wish to use, preferably acrylics
- Pencil and eraser
- Canvas in any size you like
- Paper towels
- Paint palette or paper plate
- Cups for water
- Paintbrushes in various sizes
Don’t forget to put an apron on, or wear older clothes to minimise unwanted messes!
Step 2: Draw your outline!
After finishing up your preparation and making sure you have everything you need, you may look up some reference photos if you’d like. Draw your first outline on your canvas using a pencil and an eraser. You may draw as much as you’d like but we suggest doing one big one first! Remember that it doesn’t have to be perfect or detailed! Sketch the body first, then the four wings, then its antennas. You don't have to put on any details on the wings yet since this will be your outline!
Step 3: Get your paint ready!
Once you’re done with your outline, get the paints you would like to use for both your butterfly and background. We suggest you use contrasting colours so the butterfly will really pop against your background. Paint on your outline using a small brush, then paint your background with a larger brush.
Step 4: Colour in your butterfly
After you paint your background, Fill in the wings with any colour you like, this might take a few layers for it to be really opaque. Leave the body of your butterfly blank first while you paint on your wings, and make sure to leave a small bit of space for the outlines so you can paint on them after.
After painting the wings, use black to colour the head and body of the butterfly. You may use any colours if you’d like to! Paint in your antennas and your outline as well with black.
Step 5: Add some pretty details!
Paint strokes on the wings with a medium to small brush, or make your own design if you choose. To add more dimension, use a lighter version of the colour used on the wings. Paint a variety of sizes of circles in the background to add dimension to the picture and give it the appearance of out-of-focus lighting.
If you like, you can use a circular sponge to stamp circles on. They don't have to be perfect; the goal is to provide movement to the wings without adding more colour
And that's it! Wasn’t that easy?
If you’d like to add more fun you can customise your butterfly any way you like. Make sure to encourage your kids to let out their creative side for their masterpieces! If you liked this tutorial on how to paint a butterfly for beginners, make sure you check out our news page for more easy and fun tutorials on how to paint!